Getting Started with EmbedKit CDN
EmbedKit CDN is a Boomi Agentstudio capability that enables you to embed deployed AI agents into any custom or third-party user interface using a short, auto-generated JavaScript snippet in your site's HTML header. No build tools or npm packages are required.
Prerequisites
Before you configure EmbedKit CDN for agents, ensure you have the following:
- An active Boomi Enterprise Platform account with access to Boomi Agentstudio.
- The Agent Garden Administrator or Agent Garden Developer role, or a custom role with the following privileges: Agent Garden Access, Agent Create, Agent Edit, Agent Feedback Submit, and Agent Garden Feedback View. Refer to Configuring developer privileges for details.
- Access to the HTML source of the target UI where you want to add the embed snippet. If you use a CMS such as WordPress or Shopify, ensure you can add custom scripts to the page header and body.
- Your Boomi Parent Account ID, API Username, and API Token. To find these values, navigate to Boomi Platform > Settings > Account Information.
- The URL (origin) of the website where you plan to embed the agent. For example,
https://www.example.comorhttp://localhost:3000for local testing.
Step 1: Building and deploying an agent
In Boomi Agentstudio > Agent Garden, create and deploy the agent you want to embed. After you deploy the agent, it becomes available for selection in the EmbedKit Admin Console. For more information on building agents, refer to Building AI agents.
Step 2: Configuring CORS in the EmbedKit Admin Console
You must register the origins of your website before any embed can work. The EmbedKit server enforces strict origin checks and rejects requests from unregistered origins with an HTTP 403 response.
All configurations, including CORS origins, agents, projects, and public tokens, are managed through the EmbedKit Admin Console. An origin is the scheme, hostname, and port of your website.
- EmbedKit shares CORS origins across all projects for your tenant. You can assign any origin added here to any project.
http://localhostandhttp://localhost:3000are different origins and must each be added separately.
Registering website origins
- Navigate to the EmbedKit Admin Console.
- Enter your credentials in the following fields:
- Account Id — Enter your Parent Account ID (tenantId) found in Boomi Platform > Settings > Account > Account Information.
- Username — Enter your API username in this format:
BOOMI_TOKEN.user@example.com. For example,BOOMI_TOKEN.jane.doe@boomi.com. - API Token — Enter the API token. You can generate one from Platform API Tokens in the Boomi Platform.
- Click Sign in. The Admin page opens.
- Select CORS in the left sidebar and click + Add.
- Enter the full origin URL. For example,
https://www.example.com. - Click Add Origin to confirm.
- Repeat steps 4-6 for every domain where you plan to embed the agent, including
http://localhost:PORTfor local development.
If your origin is missing from the CORS allowlist, the CDN script receives a 403 Forbidden response when it tries to create an embed session. The agent does not render, and the browser console shows a CORS or 403 error.
Step 3: Creating an embed project
An embed project groups the agent selection, allowed origins, and UI configuration for an embedded experience.
-
Navigate to the EmbedKit Admin Console.
-
Click Projects in the left sidebar.
-
Click + Add Project.
-
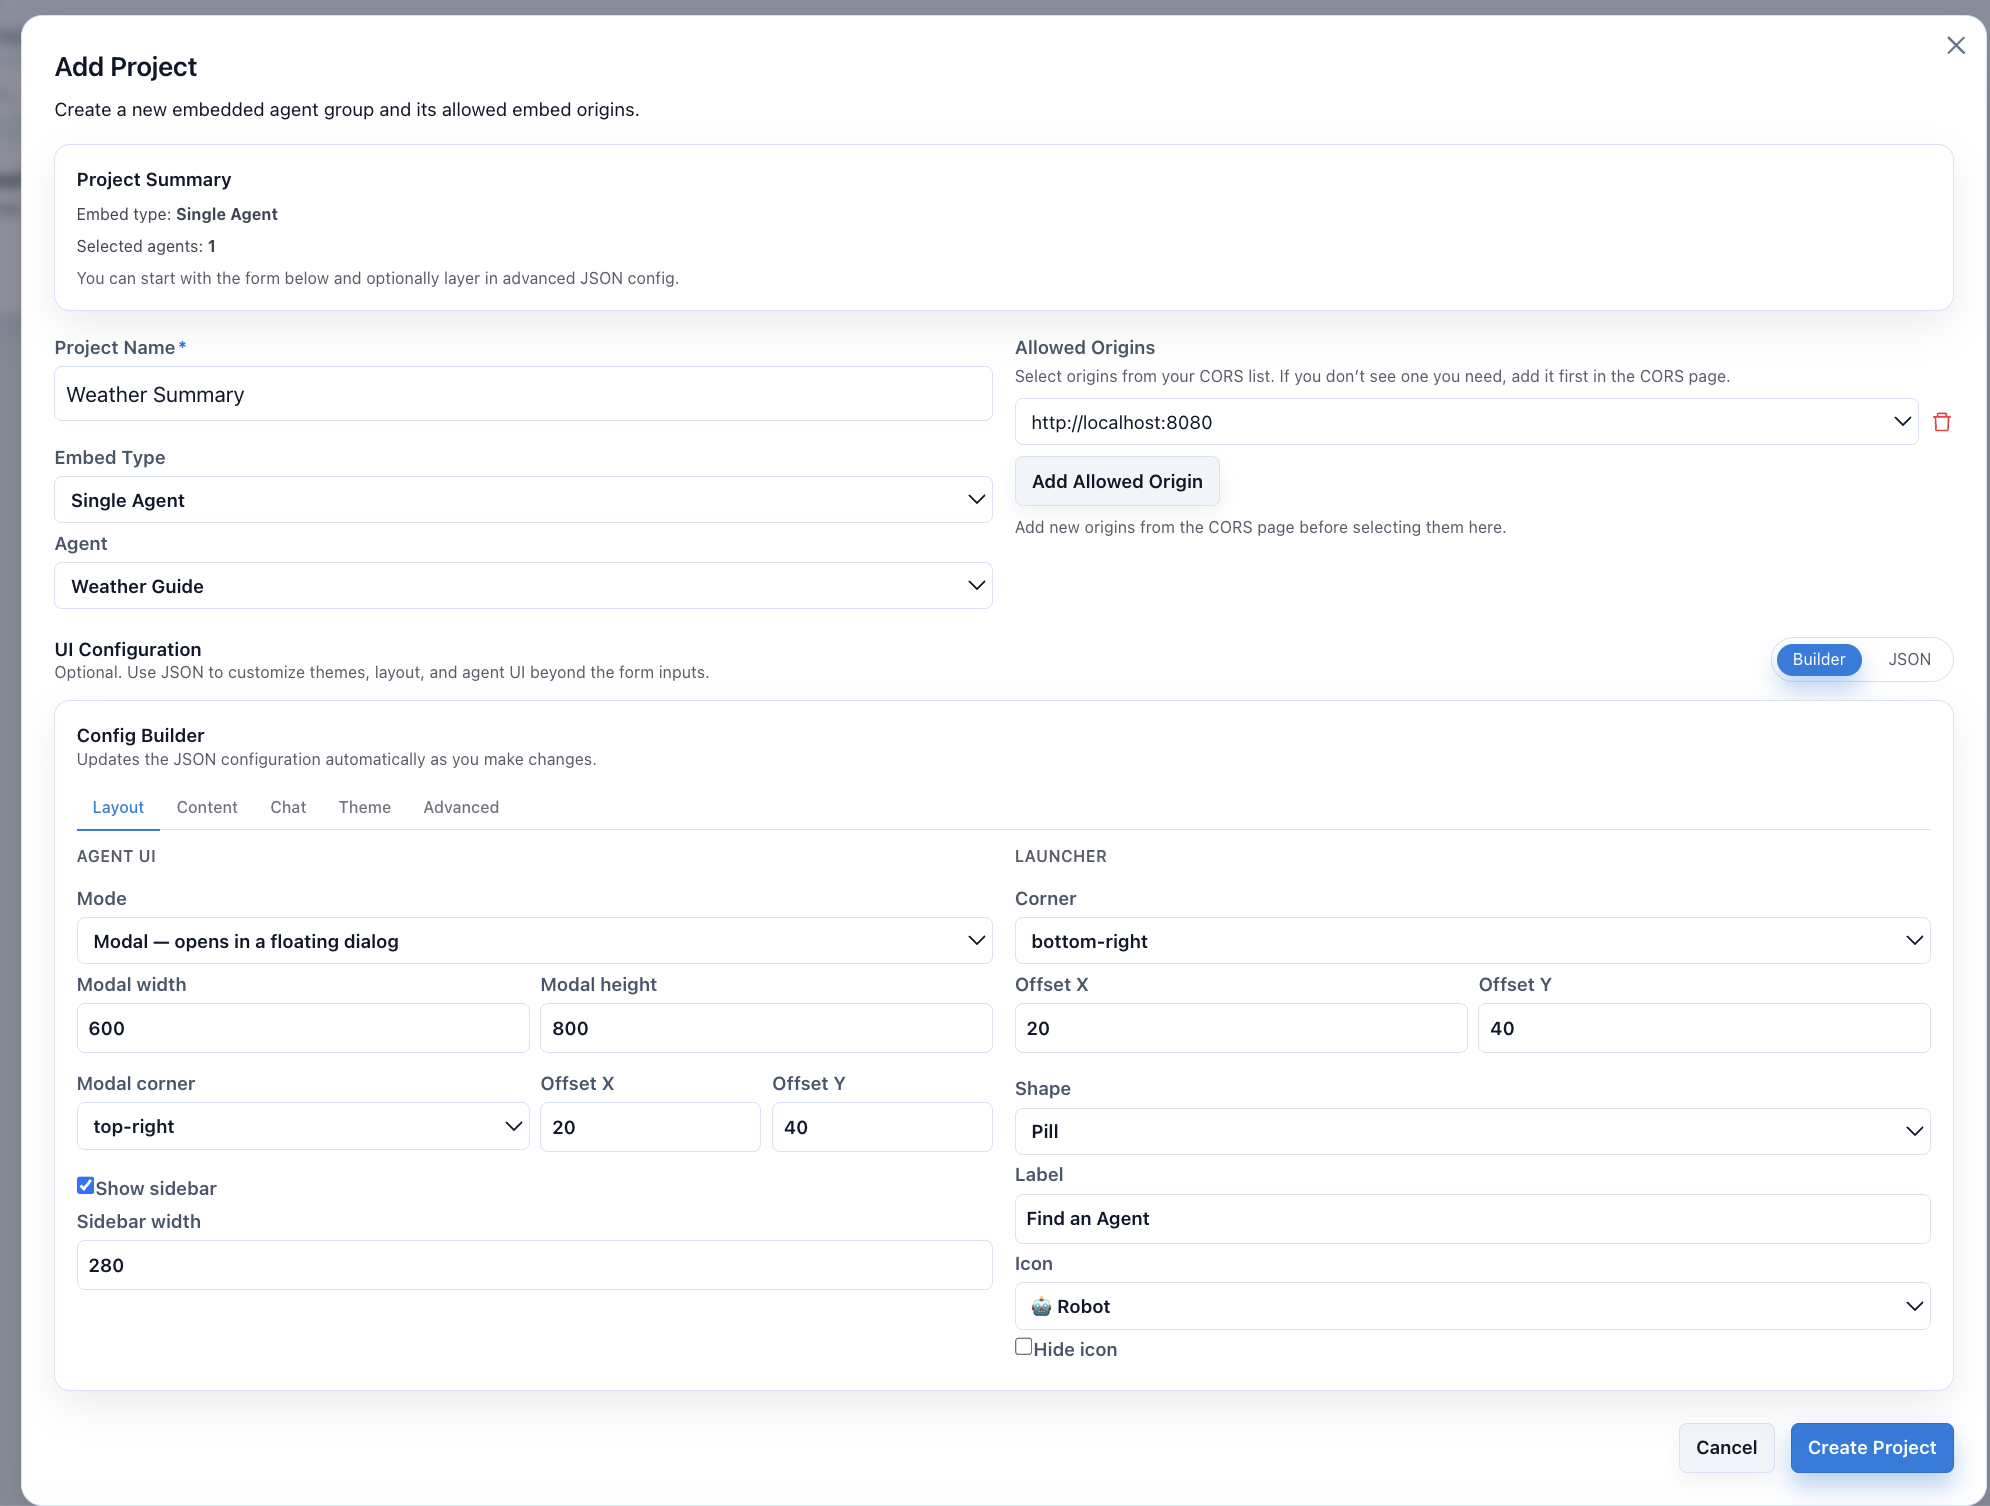
Configure the following options:
- Project Name — Enter a project name.
- Allowed Origins — Click Add Allowed Origin and select an origin from the drop-down list.
- Embed Type — Select the agent type from the drop-down list. Available options are Single Agent, Multi-Agent (Tiles), and Multi-Agent (Pill + Modal List).
- Agent — Select the agent that you deployed in the Agent Garden. For example, Weather Guide.
- UI Configuration — Use the Builder tab to configure visual options through a form-based interface, or select the JSON tab for full control over the configuration.
noteThe Builder tab opens the Config Builder with five tabs: Layout, Content, Chat, Theme, and Advanced. Use these tabs to customize the agent UI. The JSON configuration updates automatically as you make changes.
Refer to the documentation on the Github repository for the complete list of configuration properties, embed types, and UI options.
-
Click Create Project.
After you create the project, EmbedKit generates an embed snippet and ties it to a scoped public token. The Embed snippet panel displays the snippet that you need in the next step.
-
Copy the generated snippet from the Embed snippet panel.
Step 4: Adding the embed snippet to your application
The embed snippet you copied from the Admin Console contains the stylesheet, configuration, CDN loader, and mount element. You must place these parts in the correct locations in your page.
Do not paste this snippet as a single block in one location. Split the snippet across <head> and <body> as described in the steps below.
The following example shows the complete embed snippet:
Embed snippet
<link rel="stylesheet" href="https://cdn.jsdelivr.net/npm/@boomi/embedkit-cdn/embedkit-cdn.css" />
<script>
  window.BoomiEmbed = {
    publicToken: "<your-public-token>",
    agentId: "<your-agent-id>",
    mountId: "boomi-agent",
    serverBase: "https://api.boomi.space/api/v1"
  };
</script>
<script src="https://cdn.jsdelivr.net/npm/@boomi/embedkit-cdn/embedkit-cdn.umd.js" async></script>
<div id="boomi-agent"></div>
- Open the HTML source of the target page and paste the generated embed snippet inside
<head>. The snippet includes the EmbedKit stylesheet, configuration script, and CDN bundle loader.
Embed snippet
<head>
    <meta charset="UTF-8">
    <meta name="viewport" content="width=device-width, initial-scale=1.0">
    <title>Your Page Title</title>

    <!-- Boomi EmbedKit — Stylesheet -->
    <link rel="stylesheet" href="https://cdn.jsdelivr.net/npm/@boomi/embedkit-cdn/embedkit-cdn.css" />

    <!-- Boomi EmbedKit — Configuration -->
    <script>
      window.BoomiEmbed = {
        publicToken: "<your-public-token>",
        agentId: "<your-agent-id>",
        mountId: "boomi-agent",
        serverBase: "https://api.boomi.space/api/v1"
      };
    </script>

    <!-- Boomi EmbedKit — Loader -->
    <script src="https://cdn.jsdelivr.net/npm/@boomi/embedkit-cdn/embedkit-cdn.umd.js" async></script>
</head>
-
Add a mount target
<div>inside the<body>of your HTML page where you want the agent to appear. Theidvalue must match themountIdin the configuration script.<body>
<!-- Your page content -->
<div id="boomi-agent"></div>
</body> -
Save the file.
Viewing a complete example
The following is a minimal HTML page with an embedded agent:
HTML page example
<!DOCTYPE html>
<html lang="en">
<head>
  <meta charset="UTF-8" />
  <meta name="viewport" content="width=device-width, initial-scale=1.0" />
  <title>My Website</title>

  <!-- Step 1: EmbedKit Stylesheet, Configuration, and Loader -->
  <link rel="stylesheet" href="https://cdn.jsdelivr.net/npm/@boomi/embedkit-cdn/embedkit-cdn.css" />
  <script>
    window.BoomiEmbed = {
      publicToken: "pk_xxxxxxxx-xxxx-xxxx-xxxx-xxxxxxxxxxxx",
      agentId:     "project_xxxxxxxx-xxxx-xxxx-xxxx-xxxxxxxxxxxx",
      mountId:     "boomi-agent",
      serverBase:  "https://api.boomi.space/api/v1"
    };
  </script>
  <script src="https://cdn.jsdelivr.net/npm/@boomi/embedkit-cdn/embedkit-cdn.umd.js" async></script>

  <style>
    /* Your existing site styles here */
    body {
      font-family: sans-serif;
      margin: 0;
      padding: 2rem;
    }
  </style>
</head>
<body>

  <h1>Welcome to Our Portal</h1>
  <p>Click the button in the bottom-right corner to chat with our AI assistant.</p>

  <!-- Step 2: EmbedKit mount target -->
  <div id="boomi-agent"></div>

</body>
</html>
You can embed the EmbedKit CDN snippet in any application that supports custom scripts, such as CMS platforms, custom portals, or web frameworks.
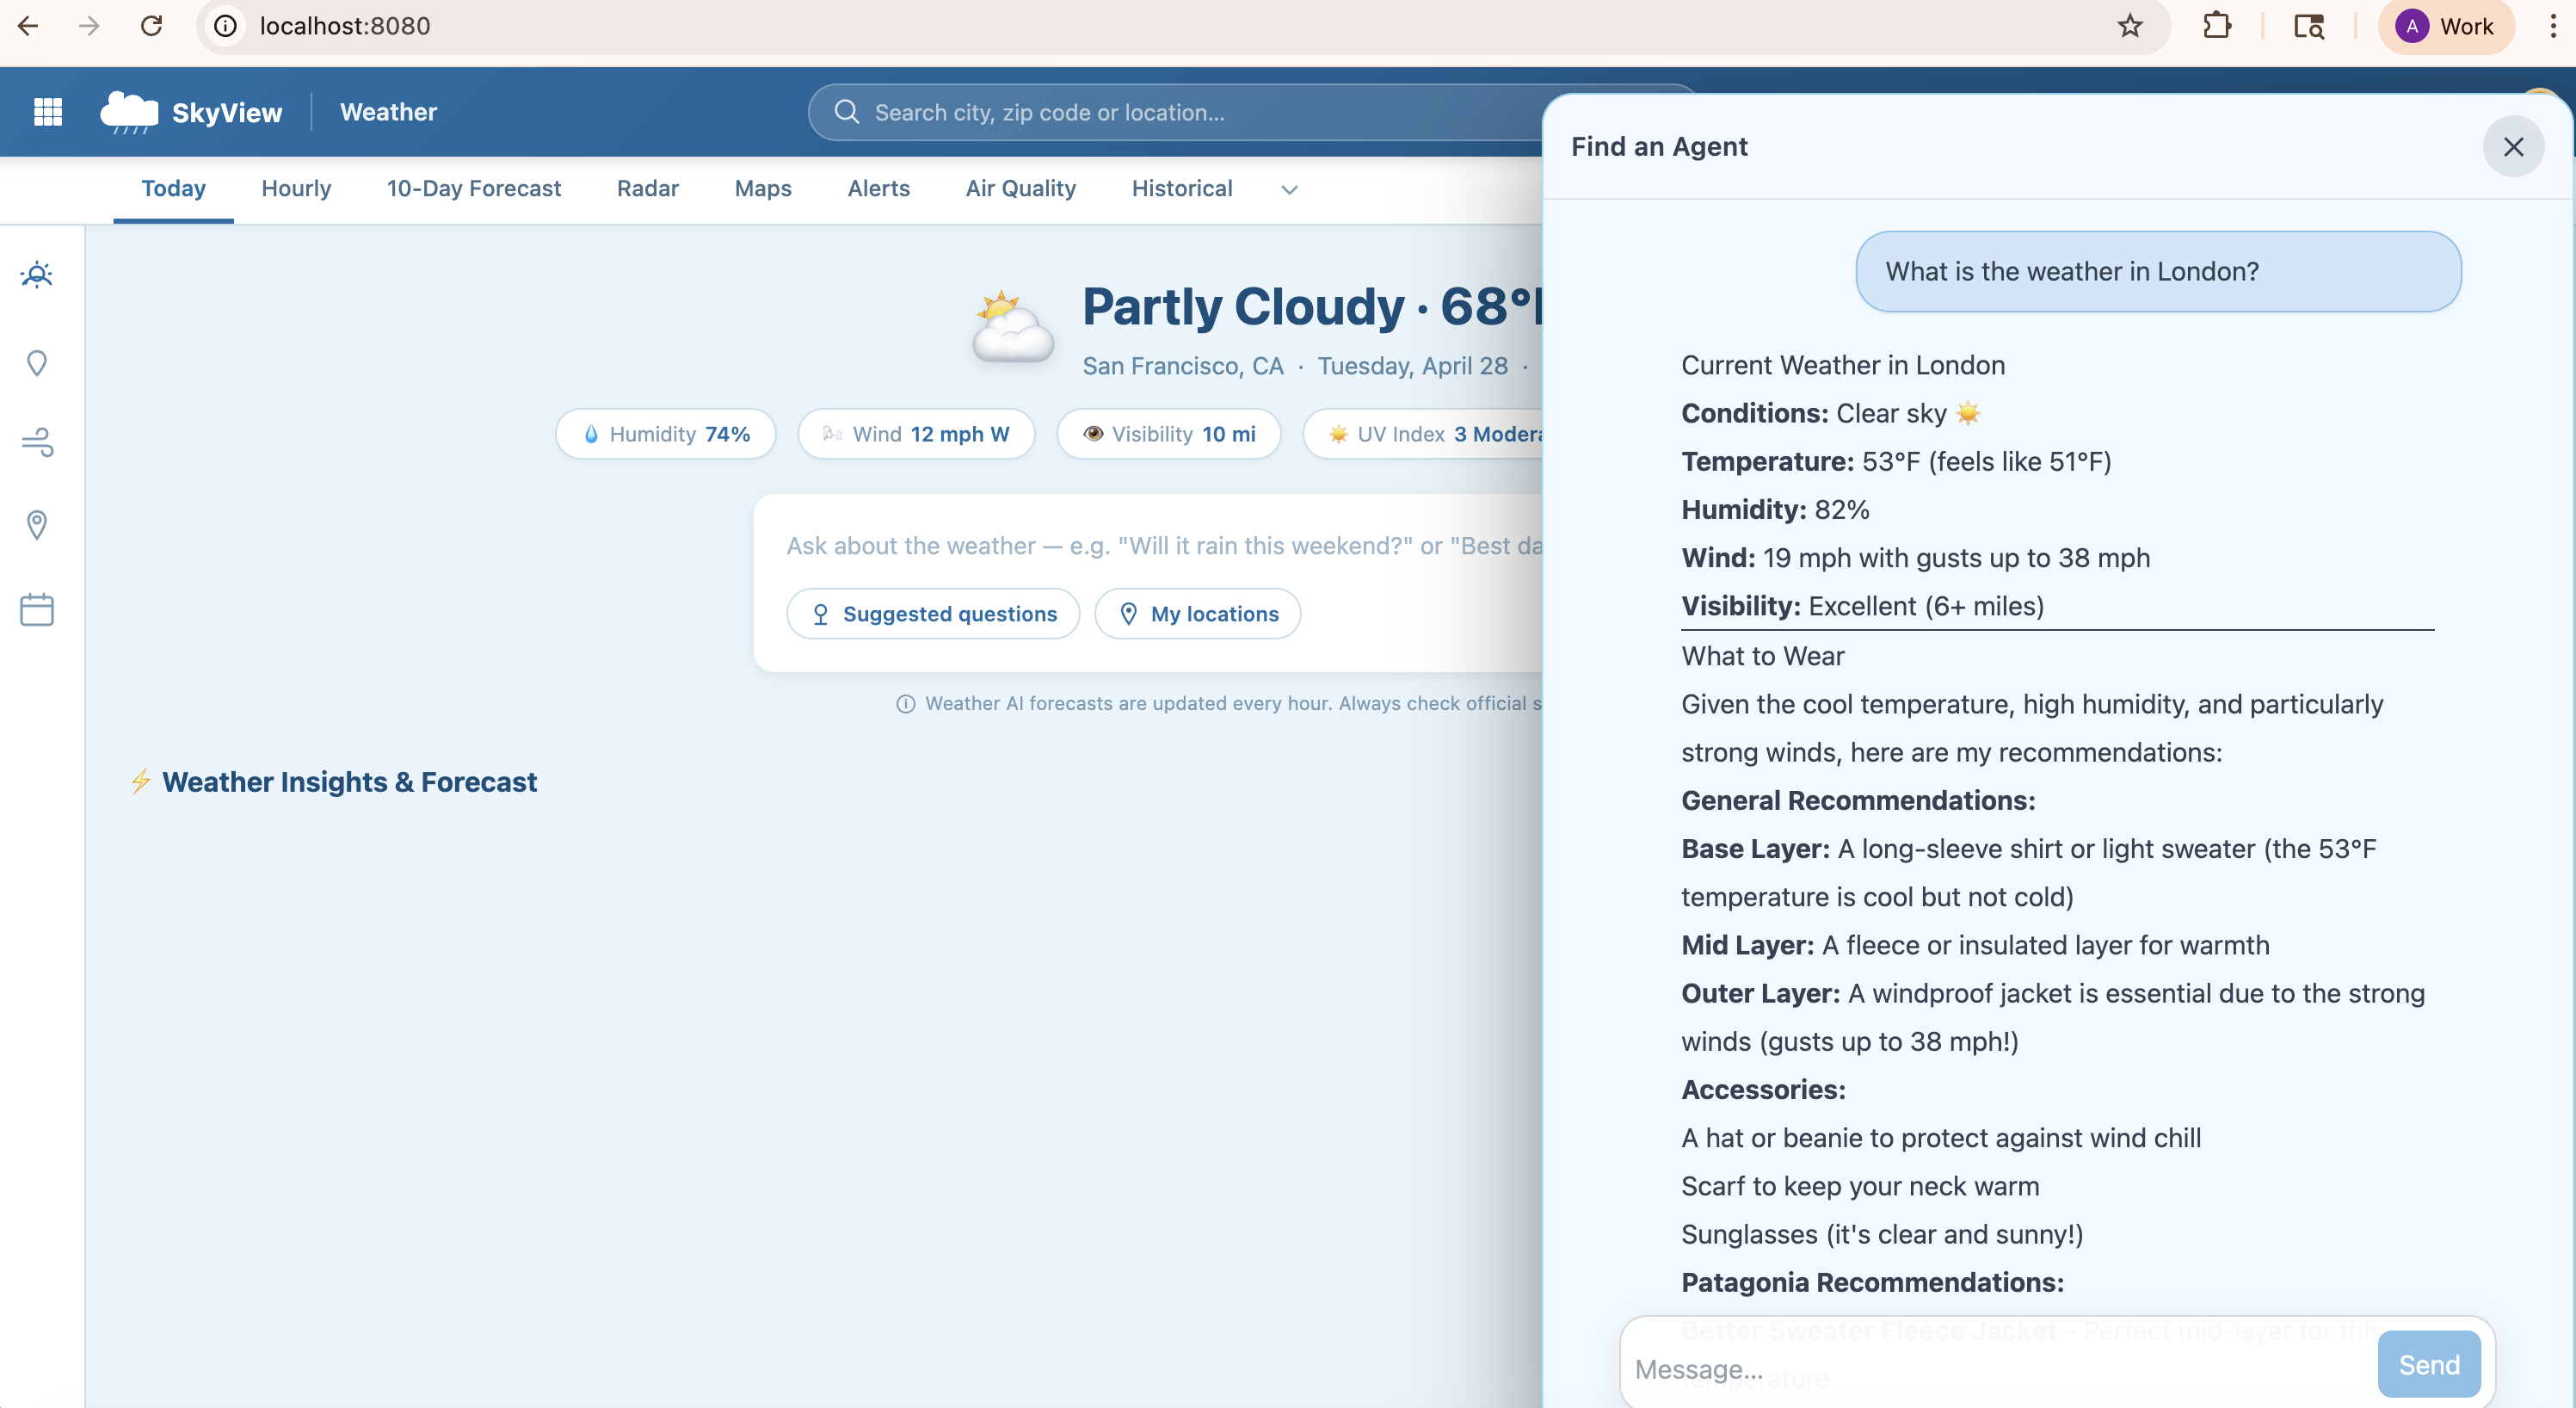
Step 5: Verifying the embedded agent
After you deploy or refresh your application, verify that the agent renders correctly.
If you are testing locally, start your local development server before navigating to the URL.
-
Navigate to the target site URL in a browser. For example,
http://localhost:8080/. -
Confirm that the agent widget or embedded panel appears in the expected location.
-
Enter a test prompt to verify that the agent responds.
To customize the agent's welcome screen, prompt suggestions, modal sizing, and theme, use the Builder tab in the Admin Console or switch to the JSON tab for the full configuration reference. Refer to the documentation on GitHub for details.
